But first, for some inspiration, see what you can do with LED strips:
- a coole lamp
- or maybe you want to have the LEDstrip respond to music and maybe create some cool disco lights. Have a look at this video for your options:
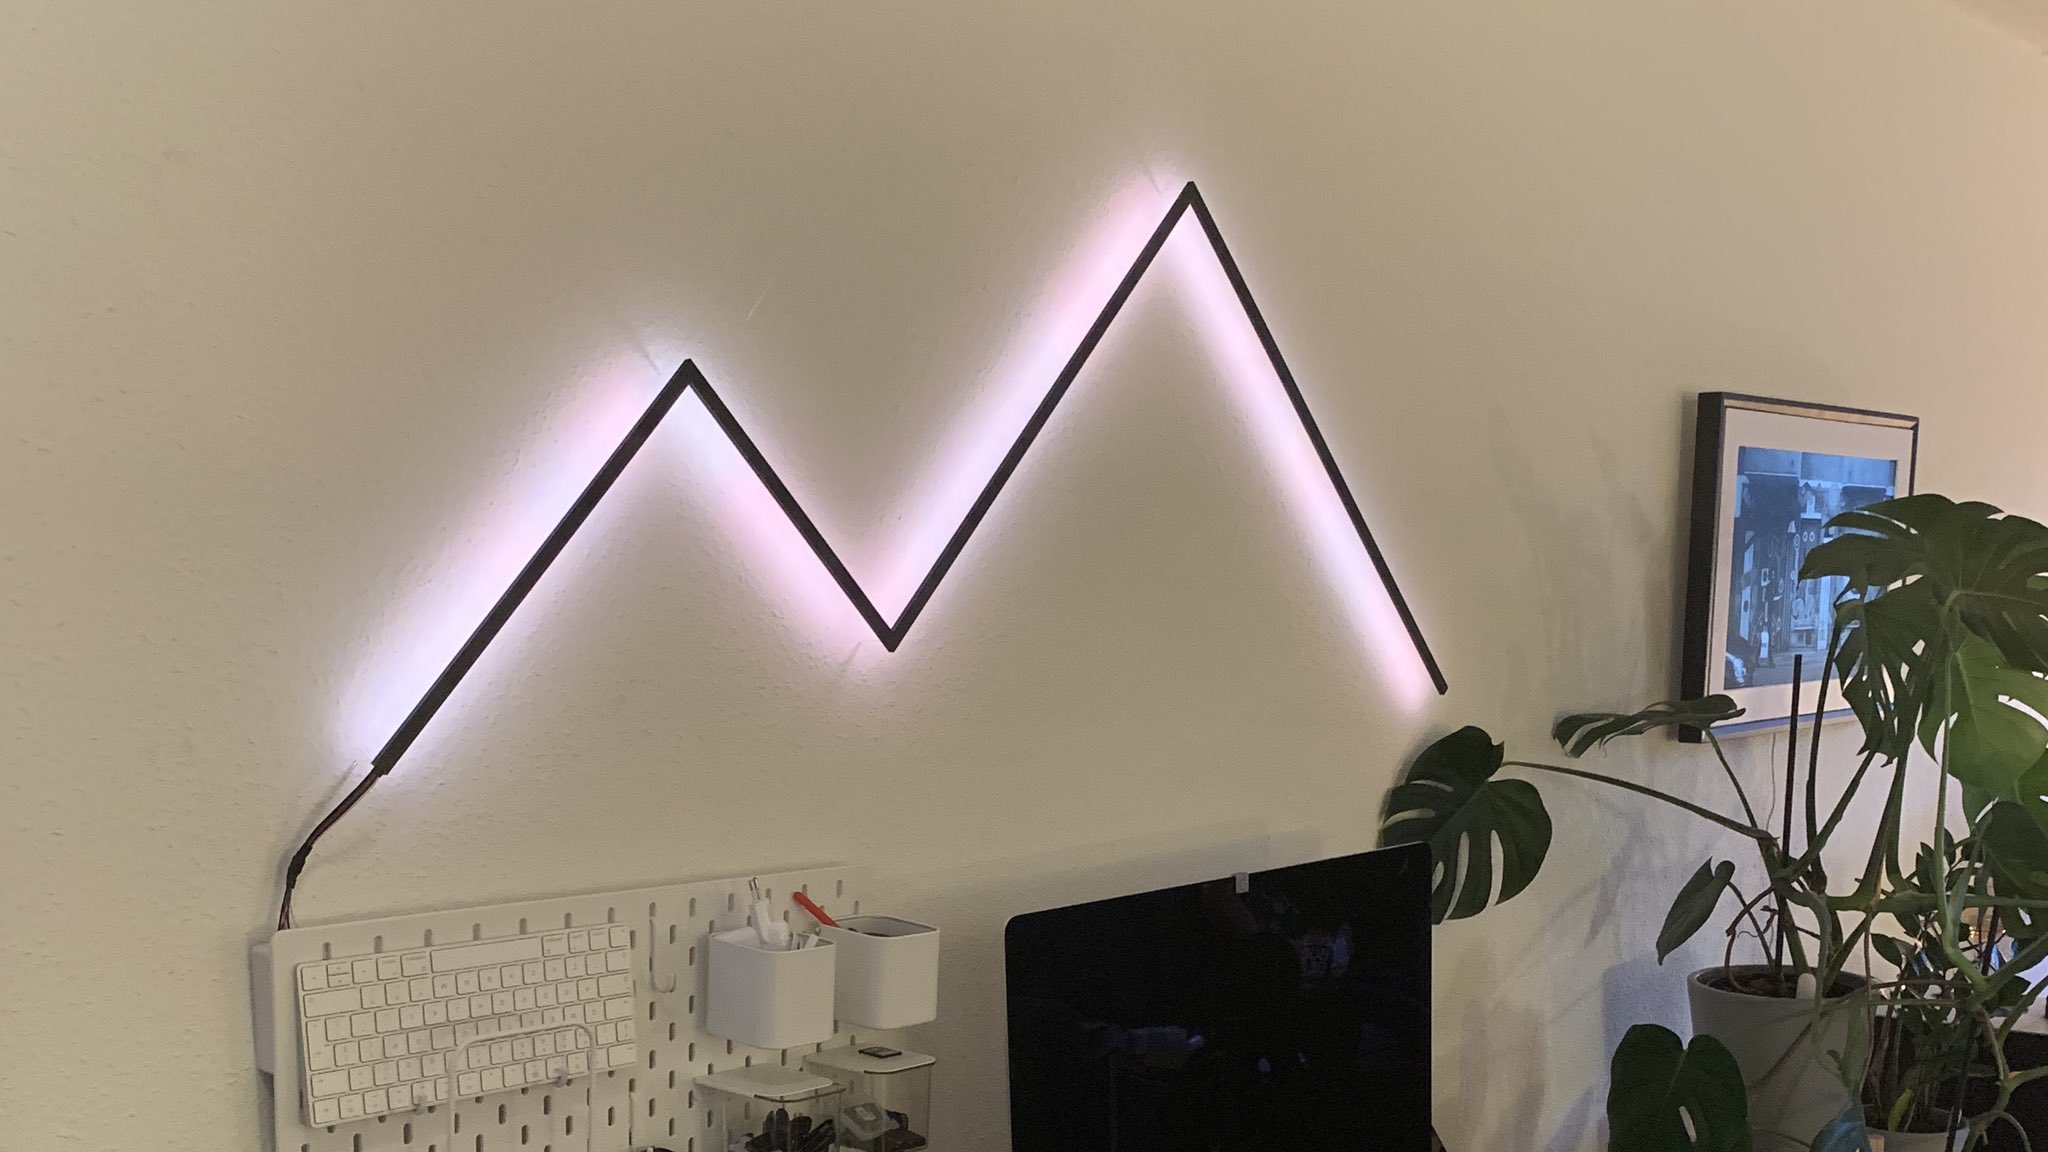
- If you like handy work you could create this cool lamps
- combine some strips in parallel to make a scroll effect:
- make a Chameleon LEDstrip:
- make your own clouds (description of how to to be found here):
- while i was looking for Christmas effects, i ended up with shows like these, which show you, you can go crazy ;-)
- cool sunglasse
- and the great thing is: you can combine them with all kinds of sensors, or tie them into you home automation platform (like with Home Assistant and OpenHab) and much more...
O.k. So even to start with one strip, you need to have a little background. When i would have to learn everything from scratch, i think i would have started with the following guides and videos (some of these are comparatively old, but you'll still learn a lot from it):
Also have a look at this video:
And definitely check out this hookup guide.
I only found the below video after buying my 1st strips (i went for the WS2815, 3 strips of 1 meter 'plain' and 1 strip of 5 meter with IP65 so i should be able to use it outside), but i want to be able to find the video back.
Apart from the video, the presenter also shares a comparison chart:
O, and you want to read about LEDs, warmth and cooling through aluminium strips. And you really also want to read this short article about different shades of white light. And when you want advise on what strips to buy, please check this short article.
You still need to power the strips, decide what controller you're going to use to produce the right color effects etc. Check out the above mentioned video channel for more great video's!
I myself, before seeing the above ;-), bought
- a 5m 12v 2815 60 led/m IP65 white PCB strip from BTF-Lighting,
- 3 1m 12v 2815 60 led/m IP30 strips (option on the same product-page),
- a 12v 30A power supply from MoRaVa (49x213x112mm)
- an Arduino Mega 2560.
- download the Arduino IDE software
- find a library for my LED strip (i used the FastLED library) ... after installing it and restarting Arduino, i had to go to Arduino menu / Examples / FastLED to see some code (sketch books)
- wired up all stuff':
- i hooked up the power supply to a power outlet in my home (bought a rewireable EU power plug, took 3 wires, connected the wires to the plug, screwed the plug shut, and connected the other side of the wires to the MoRaVa power supply)
- took a LED-strip: mine came with wires on both ends, 6 wires, 4 connected to the 4 connectors on the WS2815, 2 separate ones only connected to power. I took the 2 power wires and connected them to the MoRaVa
- i connected the data-wire (which was green) of the 4-wire-block to the Arduino Mega (pin 6) and connected the ground wire of the 4-wire-block to a ground pin on the Mega
- i found this handy diagram here (if you have a strip end without any wires, and need to solder, check this - or you can buy clips for solderless connection, just watch the nr of pins you need):

- since i bought only one (but rather beefy) power supply, which only had outlets for 3 wire pairs, i wondered if and how i could power more LED strips while only having 3 outlets. Found the answer here: "Yes, a single LED power supply can be connected to more than one length of LED tape. As long as the total wattage of your LED strip lights doesn’t exceed that of the LED transformer, you can wire as many separate strips as you wish", see below. Or use a strip splitter as seen here.


So i started basically what is described in this video (and after showing how to connect the parts, this video also introduces you to how to simply program effects on your LED strip):
Handy stuff:
Handy stuff:
- easy to forget as a n00b: when you load a demo sketch in Arduino: don't forget to change to what (data) pin you have connected your LED-strip to the Arduino, and the nr of LEDs on your strip
- I soon learned the Arduino Mega 2560 doesn't have wifi, which isn't very handy when you want to control your strips over Wifi, so
- i ordered a NodeMCU:
- to get an idea how you can use it, see these short video's.
- i tried WLED on the NodeMCU, which has awesome features like offering a Wifi AP, OTA, Philips Hue sync, webserver to control stiff, https://drive.google.com/open?id=1REqX9Dlu5XHfFBwAEcN0qa65FAwk-patnice set of effects, home automation integration etc.
- WLED seems to use pin D4 as datapin (so use that to connect to your strip)
- btw: i needed the config shown on this website to be able to upload my sketch. With the default config i got thrown an error with "termios.error: (22, Invalid argument)" , "esptool.main(fakeargs)" etc
- i ordered some Wemos D1 mini's so i can do over-the-air updates and not having to hookup the Arduino Mega to my computer every time):
- after arrival, i soldered the header pins (it came unsoldered)
- flashed Aircoookie ESP8266 Minimal HTTP OTA Updater booter using Arduino IDE (you can also use ESPhomeFlasher for flashing)
- downloaded and flashed the latest version of WLED.
Many people report good results using ESPhomeFlasher to flash - if you're not using ESPhomeFlasher, but esptool, you want to make sure your controller is wiped nice and clean so any left behind bits won't interfere with the new code. A way to do so is by using "sudo esptool.py --port
erase_flash" (a WLED bin can than be written with: sudo esptool.py --port write_flash WLED_0.8.6_ESP8266.bin) - to control the LED strip from my Home Assistant, i need to check out this thread or this one
- i might try to use ESPhome on both the NodeMCU as well as Wemos D1 mini's, like so, so or so
- if i can't get ESPhome running nor like WLED, i'll try ESPixelStick, toblum McLighting, or this (based on this solution)
- WLED can also control a relay (on pin D6). As LED strips still consume some power even when no color is shown (the LED strip appears off), a relay can make sure the LED strip really doesn't use any power when you're not using your LED strip. I bought me some relays, but learned you have many different relays, and standard WLED code happened to control the relay in a way that forced me to use the NC port of the relay to make it work. But by changing a setting in the code, you can 'flip' how WLED controls the relay, which enabled me to use the NO port. You can change RLYMDE to 0 in NbpWrapper.h .
- nice test/demo effects:
- my favorite(s):
- "DemoReel2Arg.ino"
- running through all effects of the WS2812FX library via this code
- Possible useable for Christmas lights (i'm looking for the best sparkle/twinkle effect): "TwinkleFox", or "SoftTwinkles"
- https://www.tweaking4all.com/hardware/arduino/adruino-led-strip-effects/ (they present you a basic code block, and effects you can paste into the basic code block)
- the sketches supplied with the FastLED library: DemoReel100 (my favorite), Colorpalette, ColorTemperature, Cylon, Fire2012
- sketches by Mark Kriegsman, like
- "CircusMarquee - marquee lights as found around the edge of a circus, carnival, or theatre sign"
- "DiscoStrobeWithPalette"
- "ColorWavesWithPalettes"
- 2 effects on parts of your strip, "TwoAnimationsAtTheSameTime"
- "DemoReel2Arg.ino"
- ripple effect
- i still need to check this sketch
- check out this big set of patterns
- more stuff i learned while working with LED strips
- i bought LED-strips requiring 12V. But i'm using NodeMCU's en Wemos D1 mini's to control the strips, and those run on 3 and 5 Volt. So i have a power supply supplying 12V, and i'd rather not have to use two power supplies. How can i both power the LEDs as well as the controller?
- You can use both voltages to power both boards, just use the 5V pin to input 5V, the 5V pin can both be used as output as well as input, just not at the same time).
- There are many components that can transform 12V to 5 or 3.3 V. A nice video explaining options can be found here:
I used buck convertors to convert the 12V to 5V for the NodeMCU and Wemos. - when you want to show video etc, check out OctoWS2811 with which you can for instance connect 32 strips of 60 leds and a small controller board to wow your friends with video...

- when you want to power 12V LED strips as well as a 5V controller board, there are many options, including using a 12v-5v buck converter like this one, but you can also have a look at a 'Rechargeable DC12V and 5V USB Double Output Lithium ion battery pack' like this one

- when you start playing with colours, you'll probably have use for a color picker to get the RGB values of a color: https://www.w3schools.com/colors/colors_picker.asp
- you might want to check out and experiment with different enclosings etc to diffuse the light. Like this one, where for instance cheap Ikea Rabalder is used: .
Or you can create a lantern (see here for some inpiration and how a lantern with LEDs might look like) with cheap materials in any shape you like using techniques in this clip, and attach a LED-strip on the inside of it


- More LED-art, with built instruction:
Geen opmerkingen:
Een reactie posten